


Scope: inbound and outbound, with browser audio over WebRTC. Call logs are written through the standard Tickets API, so this works on any Zendesk Support plan rather than requiring Talk Partner Edition.
What you get
How it works
The browser carries the audio; the backend carries the credentials. Your Vobiz Auth Token never reaches a third party and is never written into a ticket.Three app locations, three jobs
A ZAF app can run in several places at once, and each instance is a separate iframe with its own JavaScript context. They share no variables and talk only through ZAF messaging.
Click-to-dial arrives as Zendesk’s
voice.dialout event, which only reaches the background instance. That instance finds the top_bar instance and forwards the number to it over an app-internal event. voice.dialout fires only on accounts with Talk Partner Edition enabled — on other plans the manual dialpad still works.
The outbound call flow


The answer XML
One handler serves both directions; which one it is is decided by who the call is from. A
sip: URI (or RouteType=sip) means the browser dialled out.
Diagnosing from the CDR
hangup_cause_name in the CDR tells you where a call stopped:
Inbound calls
A call to one of your Vobiz numbers reaches the same/answer handler. From is a plain number rather than a sip: URI, so the handler takes the inbound branch and returns <User> naming the registered endpoint. The panel auto-answers.
Inbound into a registered WebRTC endpoint was blocked platform-side for two weeks and was observed working on 17 September 2026. The XML is correct either way, so nothing needs to change here if it regresses — but treat inbound as watch rather than settled.
Requirements
Step 1: Create a SIP endpoint per agent
The softphone registers to Vobiz as a SIP endpoint. Each agent needs their own, or calls ring the wrong person. Create one in the console under Voice → Endpoints, or via the API:.env as VOBIZ_SIP_USER and VOBIZ_SIP_PASSWORD.
Use a separate endpoint per integration. An endpoint binds to exactly one Vobiz application at a time, so sharing one between Zendesk and another CRM silently breaks whichever was configured first.
Step 2: Run the backend
.env: VOBIZ_AUTH_ID, VOBIZ_AUTH_TOKEN, VOBIZ_FROM_NUMBER, and the VOBIZ_SIP_USER / VOBIZ_SIP_PASSWORD from Step 1. Zendesk writes need ZENDESK_SUBDOMAIN, ZENDESK_EMAIL and ZENDESK_API_TOKEN.
The one value worth setting deliberately is SIGNING_SECRET:
RECORDING_URL_TTL_SECONDS controls how long those links stay valid, and ALLOWED_ORIGINS is a CORS allowlist rather than *.
Step 3: Expose the backend
Vobiz fetches/answer to find out what to do with the call, so that URL has to be reachable from the public internet. Put the tunnel hostname in PUBLIC_BASE and restart.
sip: caller:
Quick tunnels get a new hostname on every restart, and the old one is recycled to somebody else. Fine for development; use a named tunnel or a real host for anything permanent.
Step 4: Run the Zendesk app
zcli.apps.config.json
localhost:4567 — Chrome asks for Local Network Access permission, so allow it.
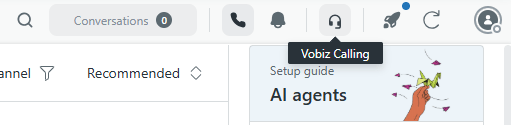
The Vobiz Calling softphone in the Zendesk top navigation bar.
Step 5: Place a test call
Open the softphone from the top bar. It opens on a CONNECTING badge while the SIP stack registers.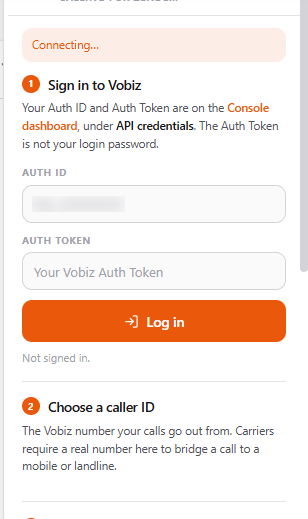
The panel on load, inside Zendesk.
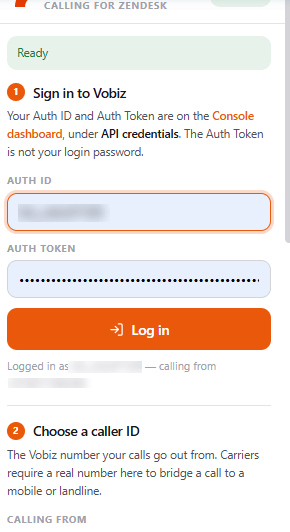
Registered and signed in with caller ID.
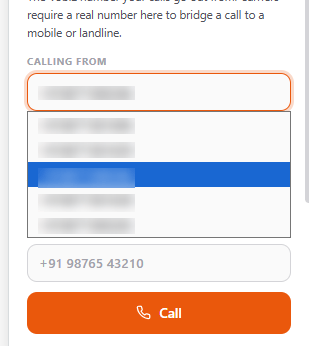
Every provisioned number is selectable as the outbound caller ID.
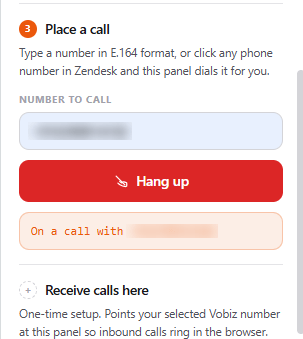
An active call, with the live status line.
GET /Call/, or read the CDR.
Inbound
A call to the attached DID raises a prompt in the panel and a Zendesk notification. Enter accepts, Escape declines.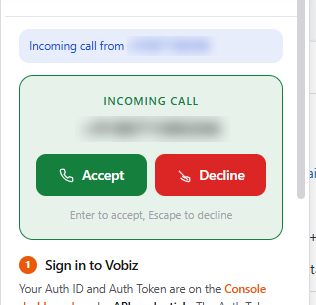
The inbound prompt, alongside Zendesk's own notification.
Installing permanently
zcli apps:server serves the app to your browser only, for as long as it runs. To install it for the whole account:
backend_url — a quick tunnel is not good enough.
Packaging needs two files the repository does not ship:
assets/logo-small.png, which Zendesk requires, and a top-bar icon at assets/icon_top_bar.svg. Add your own branding before packaging.App settings
Set in Zendesk → Admin Center → Apps → Vobiz Calling App → Settings:Backend routes
Full request and response shapes are in the repository’s backend contract. In summary:The backend is bound to one account.
/login rejects an Auth ID that is not the one in its .env, and says so by name — the SIP endpoint it bridges to and the caller ID it dials from both belong to that account, and Vobiz rejects a from number the account does not own.How a call reaches a ticket
There is no Zendesk “call” object available to a normal app, so calls are recorded as ordinary tickets and comments. The app resolves the ticket the agent clicked from, else whateverticket_sidebar reports, then posts to /sync-call, which either comments on that ticket or creates a new one.
If the backend write fails, the app falls back to writing through the agent’s own Zendesk session. That fallback is the better path in one respect worth knowing: it attributes the comment to the agent, whereas the backend path attributes everything to a single shared API user.
Screen pop is a ZAF search from the browser — a type:user phone:… query, then routeTo the matched user.
The comment itself is a structured call log, with the recording behind the signed link:
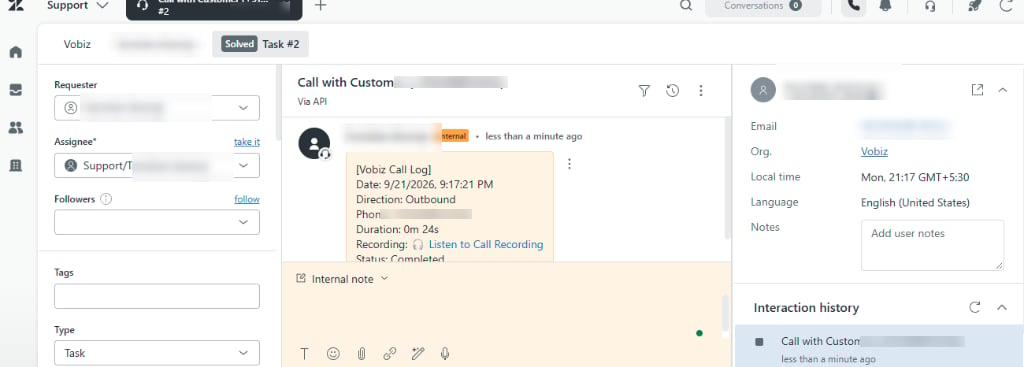
The call log as it lands on the ticket, as an internal note.
Recording links
A recording link written into a ticket is readable by every agent, every export and every audit log, forever. It therefore cannot carry credentials.
In-browser call recording audio playback.
RECORDING_URL_TTL_SECONDS (300 by default). Playback is signature-gated rather than session-gated, because an <audio> element cannot send an Authorization header — the signature is what stands in for the session.
Set SIGNING_SECRET explicitly. Without it a random key is generated at each boot and every link written before the last restart stops resolving. See call recording for what is retained on the platform side.
Where credentials live
The deliberate trade-off: agents type their own Vobiz credentials into the panel. That keeps one shared account token out of the app, but the credentials do pass through the backend on each request — so the backend must be trusted and reachable only over HTTPS.
Troubleshooting
Scope today
The app is a working softphone plus ticket logging. Not yet built: hold, mute, transfer and conference; routing a call to an agent’s mobile instead of the browser (the backend’s<Number> branch is ready, the UI is not); and Talk Partner Edition reporting, since logs go through the standard Tickets API. It installs as a private app rather than from the Zendesk Marketplace.
Next steps
- Clone the app and backend: vobiz-ai/Vobiz-Zendesk-Calling
- Read the
<Dial>reference,<User>and<Number> - Create the agents’ SIP endpoints: Endpoints API or console guide
- Same pattern in another helpdesk? See Freshdesk